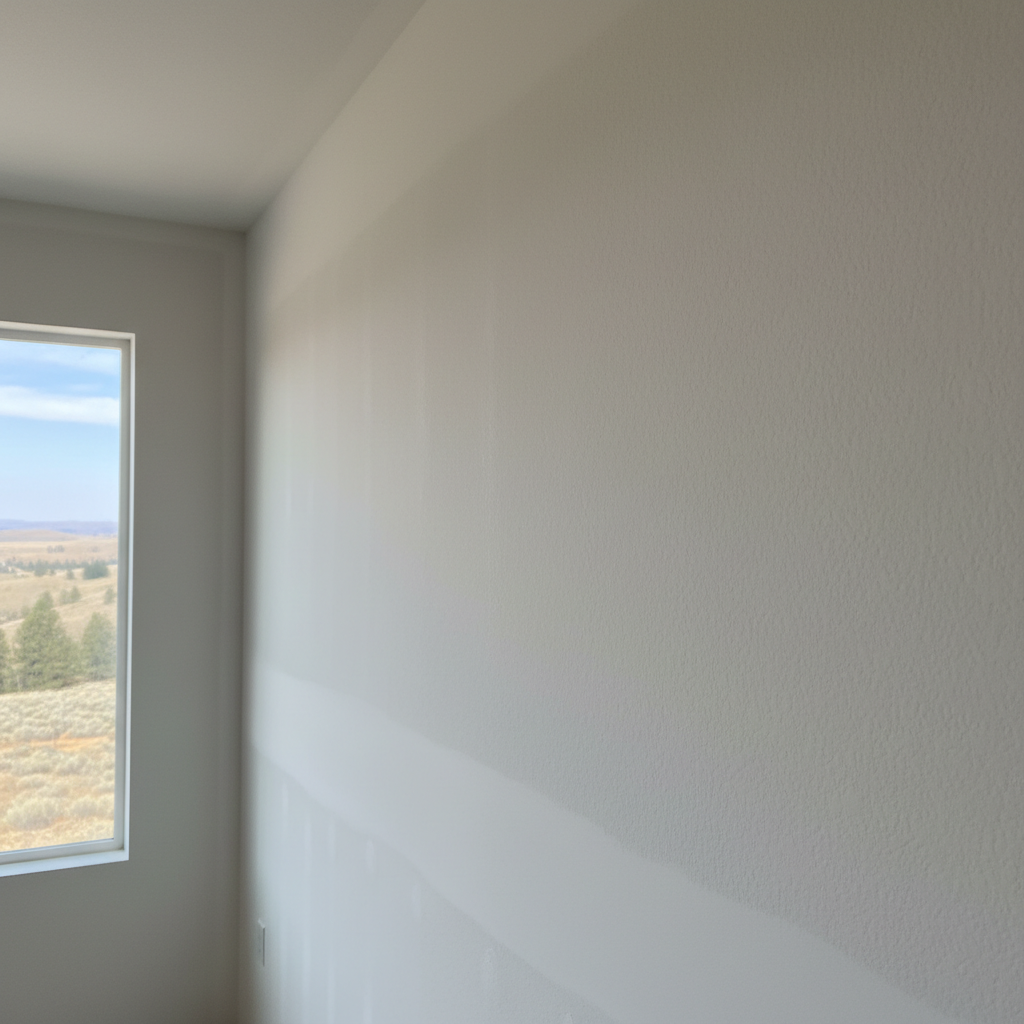
So, you've just put up new drywall, or maybe you've wrapped up a repair. You're probably itching to get some paint on those walls and call it a day, right? Hold on a sec. If you skip priming, you're just setting yourself up for headaches down the road. Believe me, I've seen it happen too many times right here in Eagle.
Why Priming Drywall Isn't Optional
Look, priming isn't just another step to drag out your project. It's truly essential. Think of it like the foundation for your paint. Drywall, especially brand-new drywall, is super porous. If you just slap paint straight onto it, that drywall is going to soak up the liquid like a sponge. What happens then? You'll get uneven color, dull spots, and you'll end up needing way more coats of paint than you ever should. It's a total waste of time and money.
Beyond that, primer creates a barrier. It seals the surface, making sure your paint sticks properly and looks consistent. It also helps hide minor imperfections and stops things like joint compound from 'flashing' through your paint — meaning you'll see shiny or dull spots where the mud is. You definitely don't want that.
Before You Even Think About Primer
Before you open that can of primer, you've got to make sure your drywall is actually ready. This is where a lot of folks cut corners, and honestly, it always shows.
- Cleanliness is Next to Godliness: Seriously, dust is your enemy here. After all that sanding, there's fine drywall dust everywhere. You absolutely need to get rid of it. Use a shop vac with a brush attachment, then wipe down the walls with a damp (but not wet!) cloth or a tack cloth. Let it dry completely. Any dust left behind will mix with your primer and create a gritty finish. Yuck.
- Smooth Operator: Run your hand over every inch of that drywall. Are there any bumps, ridges, or un-sanded mud? Now's the time to fix it. A quick pass with a sanding sponge can smooth out minor issues. Don't be afraid to touch up with a thin coat of mud if you find a bigger problem, but remember to sand it smooth and clean the dust again after it dries.
- Check for Damage: Any dings, dents, or screw pops? Fix 'em now. Primer won't hide physical damage, plain and simple.
- Protect Your Stuff: Mask off trim, windows, doors, and cover your floors. Primer drips are a real pain to clean up, and you'll be super glad you took the extra 20 minutes for this.
Choosing the Right Primer
This isn't a one-size-fits-all situation, you know. There are a few types, and picking the right one makes a real difference.
- PVA (Polyvinyl Acetate) Primer: This is your standard, go-to primer for new drywall. It's water-based, dries fast, and does a great job sealing that porous surface. It's usually the most affordable option, too. For most interior drywall projects in Eagle, this is what you'll want.
- High-Build or High-Solids Primer: If your drywall finish isn't perfectly smooth, or you have some minor texture inconsistencies, a high-build primer can help fill those tiny imperfections and give you a smoother final surface. It's thicker than standard PVA.
- Stain-Blocking Primer: Got water stains, smoke damage, or marker on the walls? A regular primer won't cut it. You'll need a good stain-blocking primer. These are usually oil-based or shellac-based and are excellent at stopping those nasty stains from bleeding through your topcoat.
- Mold & Mildew Resistant Primer: For bathrooms or other high-humidity areas, especially in older Eagle homes that might not have the best ventilation, this type of primer is a smart choice. It helps prevent mold growth right under your paint.
Always read the label! It'll tell you exactly what the primer is best for and how to apply it.
Priming Day: Getting Down to Business
Alright, you've prepped, you've picked your primer. Now it's time to get it on the wall.
- Mix it Up: Give that primer a good stir. Pigments can settle at the bottom, so don't skip this.
- Cut In First: Just like painting, start by 'cutting in' around the edges, corners, and trim with a brush. Don't go too thick, just a nice even coat.
- Roll It On: Use a roller with a nap appropriate for your surface. For smooth drywall, a 3/8-inch nap is usually good. Load your roller evenly and apply the primer in sections, working from top to bottom. Overlap your passes slightly to avoid roller marks.
- Even Coats: The goal isn't to slather it on thick. You want an even, consistent coat that covers everything. Don't try to get full opacity with the primer; its job is to seal, not to provide final color.
- Ventilation: Open some windows, especially if you're using an oil-based primer. Even water-based primers benefit from good airflow.
- Drying Time: Check the can for drying times. Don't rush it. Most primers are dry to the touch in an hour or two, but recoat times can be longer.
After the Primer Dries
Once your primer is fully dry, take another good look. You might notice some minor imperfections that weren't obvious before. The primer actually highlights them by providing a uniform surface — and that's a good thing! Now's your last chance to do any light sanding or touch-ups with mud before you paint. If you do, remember to re-prime those small areas.
Then, you're finally ready for your topcoat of paint. You'll find your paint goes on smoother, covers better, and you'll likely need fewer coats, saving you time and money in the long run.
When to Call Midway Drywall
Most homeowners can handle priming a room or two themselves, especially if it's new drywall. It's a fairly straightforward process, mostly about patience and attention to detail. However, there are times when it just makes sense to bring in the pros.
- Big Projects: If you're doing a whole house or multiple large rooms, it's a lot of work. We've got the equipment and crew to get it done fast and right.
- Complex Repairs: If you've had major water damage, extensive mold remediation, or really rough drywall repairs, getting a professional primer application ensures proper sealing and stain blocking.
- Time is Money: If you just don't have the time or patience, that's totally understandable. We can handle the prep and priming, leaving you with a perfectly prepped surface ready for your final paint color.
Ultimately, priming is a critical step that ensures a beautiful, long-lasting paint job. Don't skip it, and your walls will thank you. If you've got questions or a project that feels too big, give us a shout at Midway Drywall. We're always happy to help our Eagle neighbors get their walls looking their best.